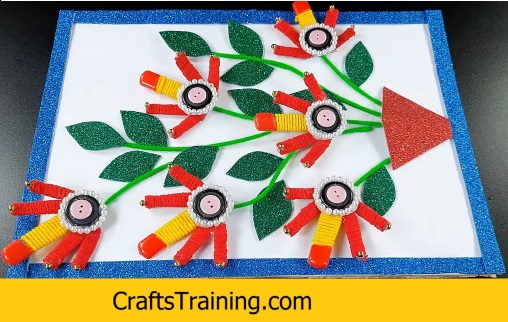
Button necklaces are not just accessories; they're expressions of creativity and personal style. Whether you're a seasoned crafter or new to the world of DIY jewelry, creating your own button necklace can be a fulfilling and enjoyable project. With a variety of buttons and a bit of imagination, you can design a unique piece that adds a touch of elegance to any outfit. Let's embark on a creative journey and learn how to make a beautiful button necklace step by step.
Materials You'll Need:
- Buttons of various shapes, sizes, and colors
- Necklace chain (metal, leather, cord, etc.)
- Jump rings
- Clasp
- Pliers (needle-nose and flat-nose)
- Scissors
- Optional: decorative beads, charms, or spacers
Step 1: Design and Plan
Before you begin, envision the style of your button necklace. Decide on a color scheme, theme, or overall look you want to achieve. Collect a variety of buttons that match your chosen aesthetic. Mix and match colors and sizes to create a visually appealing arrangement.
Step 2: Arrange Buttons
Lay out your buttons in the desired pattern or arrangement. Experiment with different layouts until you find a design that you love. Play with color combinations and shapes to achieve a balanced and harmonious look.
Step 3: Attach Jump Rings
Using your needle-nose pliers, attach jump rings to the buttonholes of each button. Jump rings are small metal rings that act as connectors. This step is crucial for linking the buttons together and attaching them to the necklace chain.
Step 4: Connect Buttons
Gently open the jump rings using your needle-nose pliers. Attach the jump rings to neighboring buttons, creating a chain of connected buttons. This process forms the central part of your button necklace.
Step 5: Prepare the Necklace Chain
Measure the desired length of your necklace chain. It's recommended to cut the chain slightly longer than you think you'll need, as you can always adjust the length later. Attach a jump ring to each end of the chain using your pliers.
Step 6: Attach Buttons to the Chain
Open the jump rings on the ends of the chain and attach them to the outermost jump rings on your button arrangement. Close the jump rings securely to ensure the buttons are firmly attached to the chain.
Step 7: Add a Clasp
If your necklace chain doesn't have a built-in clasp, you'll need to add one. Attach a jump ring to one end of the chain and a jump ring with a clasp to the other end. This will allow you to easily fasten and unfasten the necklace.
Step 8: Final Adjustments
Examine your button necklace and make any necessary adjustments. Ensure that the buttons are evenly spaced and that the necklace lies flat when worn. Trim any excess chain if needed.
Step 9: Optional Embellishments
If you want to add extra flair to your button necklace, consider incorporating decorative beads, spacers, or charms. Attach them to the necklace chain between the buttons for a unique touch.
Step 10: Wear and Showcase
Congratulations, you've created your very own button necklace! Put it on and admire your handiwork. Wear your necklace with pride and enjoy the compliments it will undoubtedly attract.
Making a button necklace is not only a creative endeavor but also a way to express your personality through wearable art. As you explore different button combinations and experiment with designs, you'll find that each button necklace tells a unique story. So, gather your materials, let your imagination run wild, and craft a button necklace that's as one-of-a-kind as you are.
- Beyond Fastening: 15 Creative Ideas for Using Buttons
- Button Beauty: Creating Your Own DIY Button Bracelet
- Button Crafts and DIY Ideas: Unleash Your Creativity One Button at a Time
- Button Design in Art and Craft: Elevating Creativity Through Small Wonders
- Crafting Elegance: A Step-by-Step Guide to Making a Button Necklace
- Magnetic Button Necklaces: Embrace Versatility and Style
- The Art of Creating Idea Buttons: Igniting Your Creative Spark
- The Language of Buttons: Crafting Messages with Purpose and Creativity
- Timeless Elegance: Exploring the Benefits of Button Clocks
- Unleashing Innovation: 10 Creative Button Ideas to Spark Your Imagination


