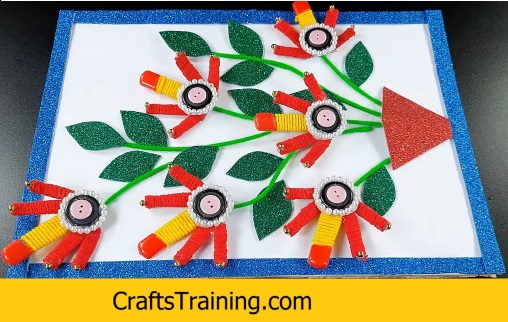
Bracelets are a versatile accessory that can add a touch of style and personality to any outfit. If you're looking for a unique and creative way to express yourself, a DIY button bracelet might be just the thing for you. Combining the charm of buttons with the elegance of a bracelet, this project allows you to design a piece of wearable art that reflects your individuality. Let's dive into the world of DIY button bracelets and learn how to craft your own masterpiece step by step.
Materials You'll Need:
- Buttons of various sizes, colors, and designs
- Stretch cord or elastic thread
- Spacer beads (optional)
- Scissors
- Clear nail polish or fabric glue (optional)
- Measuring tape or ruler (optional)
Step 1: Choose Your Buttons
Gather an assortment of buttons that you'd like to use for your bracelet. The buttons can be of different colors, shapes, and materials, creating a playful and eye-catching design.
Step 2: Measure Your Wrist
Use a measuring tape or a piece of string to measure your wrist. Add a little extra length to ensure a comfortable fit for your bracelet.
Step 3: Prepare the Thread
Cut a length of stretch cord or elastic thread based on your wrist measurement. Make sure to leave enough extra length for knotting and securing the bracelet.
Step 4: Start Stringing
Thread one end of the cord through the hole of a button, leaving a small tail. This tail will be used for knotting later. You can choose a larger button as the centerpiece or start with any button you like.
Step 5: Add More Buttons
Continue threading buttons onto the cord. You can alternate sizes, colors, and designs to create a visually appealing pattern. If you're using spacer beads, incorporate them between buttons to add a bit of texture and dimension.
Step 6: Secure the Ends
Once you've threaded all your buttons and achieved your desired length, bring both ends of the cord together. Make sure the buttons are snug against your wrist but not too tight. Tie a secure double knot to connect the ends.
Step 7: Check the Fit
Before finalizing the bracelet, try it on to ensure it fits comfortably. The stretch cord should allow the bracelet to slip on and off easily.
Step 8: Trim Excess Cord
After confirming the fit, trim any excess cord, leaving a small tail. You can secure the knot by applying a small drop of clear nail polish or fabric glue to prevent it from unraveling.
Step 9: Show It Off
Your DIY button bracelet is now ready to be showcased and worn with pride. Admire your creation and revel in the fact that you've designed a unique accessory that's sure to draw attention and admiration.
Step 10: Experiment and Explore
Feel free to experiment with different button combinations, colors, and styles to create bracelets that match different outfits or moods. You can even make button bracelets as thoughtful gifts for friends and loved ones.
Creating a DIY button bracelet is a wonderful way to infuse your personal style into your accessories. With a few simple materials and a touch of creativity, you can craft a bracelet that not only adds a pop of color to your ensemble but also serves as a conversation starter and a reflection of your artistic spirit. So, gather your buttons, embrace your imagination, and embark on a crafting journey that lets you wear your creativity on your wrist.
- Beyond Fastening: 15 Creative Ideas for Using Buttons
- Button Beauty: Creating Your Own DIY Button Bracelet
- Button Crafts and DIY Ideas: Unleash Your Creativity One Button at a Time
- Button Design in Art and Craft: Elevating Creativity Through Small Wonders
- Crafting Elegance: A Step-by-Step Guide to Making a Button Necklace
- Magnetic Button Necklaces: Embrace Versatility and Style
- The Art of Creating Idea Buttons: Igniting Your Creative Spark
- The Language of Buttons: Crafting Messages with Purpose and Creativity
- Timeless Elegance: Exploring the Benefits of Button Clocks
- Unleashing Innovation: 10 Creative Button Ideas to Spark Your Imagination


